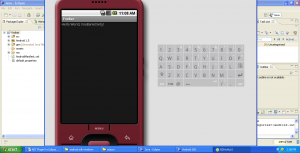
Want to develop Android apps but don’t know where to start?
Follow these steps and we will build a complete Android development environment from scratch, starting on a fresh Windows installation. The whole process should not take more than 20-30 minutes, provided that you have a good internet connection.
I need to mention that we will not develop a full-blown app here. The focus is on setting up the environment so we will develop the simplest app possible.
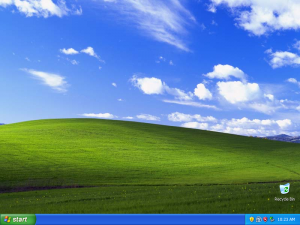
Here’s what we start with: a nice fresh XP installation. I intentionally left everything intact, including the ugly wallpaper and Internet Explorer. (Note: all screenshots are clickable.)
Here’s the basic stack of requirements for Android app development:
- Java (JDK)
- Eclipse IDE
- Android SDK
- ADT (Android plug-in for Eclipse)
Step 1: Java
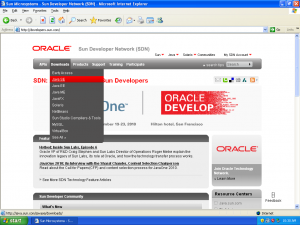
Thus, we start with Java. (Even if you have some version of Java installed, I suggest you still upgrade to the latest JDK.) You take it from developers.sun.com (choose Downloads, Java SE):
Be sure to choose JDK rather than JRE. Also, note that you can skip the registration when the pop-up window appears (unless you want to register).
Now, after the Java installer downloads, run it. JDK installer is straightforward and should not bring up anything interesting.
Step 2: Eclipse
Eclipse is the only IDE that is de-facto directly supported by the Android team (it’s also one of the most popular Java IDEs). So let’s install it.
Eclipse comes as a ZIP package that you just need to download and unzip. To get it, go to www.eclipse.org/downloads and choose Eclipse IDE for Java Developers (second one from the top).
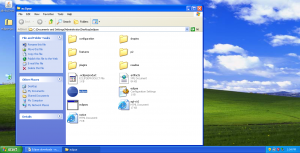
After we download it, let’s just unzip it on the desktop. After that, we will have an eclipse folder on the desktop. (Of course, it’s better to unzip it somewhere else, but you can also move the folder at any time when Eclipse is not running.)
Now, Eclipse is ready to be used and you can develop various Java applications with it, but for us, there’s no point launching it now since Android support is not installed yet.
Step 3: Android SDK
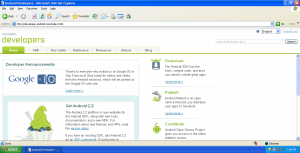
Now it’s time for us to go the official Android site and get the SDK (android.com). Click the large Developers link and then choose Download:
Choose the Windows link and you will start downloading the ZIP file that contains the Android SDK.
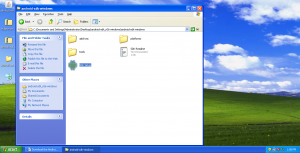
After downloading it, extract it wherever you like. Unlike Eclipse, moving Android SDK is not a good idea, so choose a good place for it. However, in this tutorial I will extract it on the desktop as well:
Now, launch SDK Setup. This is a maintenance application that allows you to upgrade your SDK installation. In our case, the installation is fresh and basically empty, and we will use the SDK Setup tool to download and install all the necessary modules.
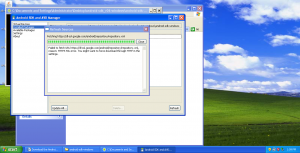
In the normal turn of events, the SDK Setup tool will immediately present you the list of all modules available for download. However, in my case I saw this error message instead:
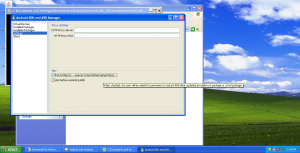
If you don’t get the same problem, just skip this step. If you do, just hit Cancel, go to the Settings page and check that Force https://… checkbox like this (don’t pay attention to the tooltip on this screenshot, it’s irrelevant):
Now, go to Available packages and hit Refresh.
You should now see the same picture as those lucky ones who did not have the failed to fetch.. issue:
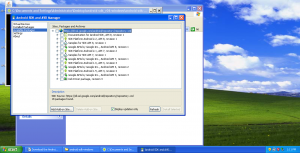
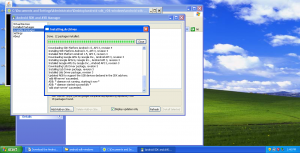
Check the root node (the one starting with https://…) and click the Install selected. Accept all the licenses and let the installer run for a while until it says everything is fine:
That’s it. You now have the Android SDK up and ready for work.
Step 4: ADT
Android SDK can be used for developing Android apps, but if you use Eclipse, there’s a lot more stuff to help you develop those apps more easily and smoothly.
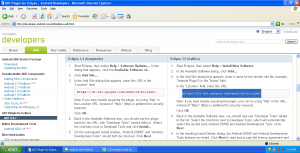
Time to install ADT – Android Development Tools, a set of plugins for Eclipse that turn your IDE into a fully integrated Android development workbench. Point your browser at http://developer.android.com/sdk/eclipse-adt.html and find a section called Downloading the ADT plugin. There’s an important URL given there as highlighted on this screenshot:
Just copy it to the clipboard, we will use it in few moments. Now, launch Eclipse!
Allow Eclipse the default workspace location, and, after it starts up, close the Welcome window by clicking on the X in the top left corner.
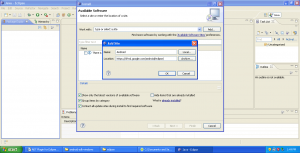
You are now looking at a blank Eclipse installation that we will now turn into an Android-enabled IDE. Go to Help, then Install New Software (yes, it’s not obvious that this feature should be in the Help menu). Click the Add.. button and fill the form in like this:
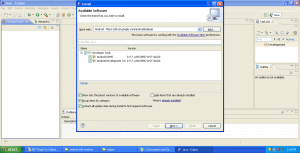
After clicking OK, choose the new Android item in the drop-down list next to the Work with: label. Eclipse will think for a second and show you the list of available features at the Android update site. Check them all:
And click Next. Again, accept all licenses and wait until the installation is over. During the installation, you may be asked whether you accept unverified content. You can safely say yes, and trust all the certificates.
When the installation is over, Eclipse will suggest to restart. Allow it to restart and wait until it’s back.
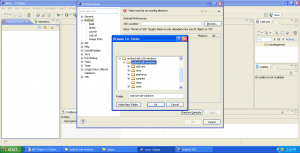
The ADT installation is complete, but we need to configure it a little. Go to the Window menu, then choose Preferences, find the Android branch on the left, click on it and set the SDK Location property to the directory where you installed your SDK (you should point it at the subdirectory that is called android-sdk-windows):
Now ADT is installed and configured. Time to actually create an app!
Step 5: Creating a Basic App
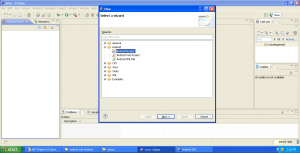
In order to create a basic Android project, go to the File menu, then choose New and then Other... Then choose Android Project like shown below:
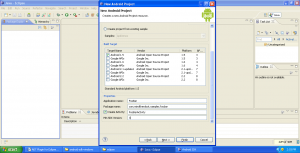
After clicking Next, you will have to fill in some information, such as the name of the project, the target platform you want your app to run on, the official name of the app (the one you will see in the launcher) and whether to create a basic Activity. I chose to name the application foobar, target it for Android 1.5 (also put it as the Min SDK version – number 3 corresponds to 1.5), and chose to create an activity called FooBarActivity:
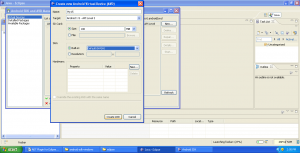
After clicking Finish, Eclipse and ADT will generate a basic application according to the settings you chose. In fact, we can already launch this app, but I’d like to create an emulator instance first to launch this app on. Go to Window, then Android SDK and AVD Manager. This is a tool that allows you to manage your emulator instances. Switch to the Virtual Devices page and click New. See how I create a simple 1.5 emulator:
OK, the emulator’s ready! Now right-click on the root node of the project tree (the one that has an open folder icon and the name foobar next to it), choose Run As, Android Application.
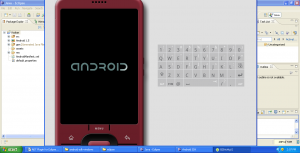
Be patient now. The Android emulator is a good piece of software but it starts up quite slowly. It will show you a logo while it’s warming up:
Then, finally, the OS will be started and your app will automatically launch:
Congratulations! Your basic application is up and running. Now, it’s time to play around, read some docs, learn the API and the tools so you can finally implement your great ideas on the great platform called Android.
Tags: adt, android, beginner, development, eclipse, emulator, environment, tutorial


